Upload Your Own Art Prints Quality Digital Art Prints
Create quality digital copies of your art
Art isn't just near creating, it'south likewise almost sharing. Once you've made a beautiful work you're proud of, information technology's simply natural that you'll desire others to see it as well. At that place are several means to do this. Of course, you could frame your paintings and drawings and hang them up at dwelling house, or put them on display at an exhibition. But you can likewise go digital and share your work online, by posting on social media or on your very own blog – see the best free blogging platforms for your options.
If you do desire to put your works online, send them past email, or even accept digital prints made, then y'all'll need to digitise them. If your painting is smaller than A4 size, y'all could do this by popping it on to an A4 flatbed scanner. Yet, many artists work at sizes bigger than A4 and, while A3 scanners are available, it'south a bit extravagant to buy one just to browse the occasional painting. As well, flatbed scanners aren't great at capturing the depth and texture of paint. The best way to digitise your work is to photograph it.
- 45 brilliant pattern portfolios to inspire yous
What we'll demonstrate hither is how art galleries and museums take digitised their art athenaeum, but we'll exercise it in a style that won't require expensive kit. In fact, you might already have most of the items you demand.
To capture your piece of work at its all-time, the 2 most vital things are to command the lighting and ready your photographic camera equally accurately equally possible. This way, there shouldn't exist a lot of messing around with a photograph editor – if you go the shoot correct, minimal figurer work volition exist required.
One time you've set upward your makeshift studio for digitising your artwork and photographed a few pieces, it'll become second nature. You could go ahead and offset digitising your unabridged portfolio of work – even the sketches. People beloved looking at all aspects of art from the very earliest stages to the end effect.
What you lot'll need
Gather together the following for your makeshift photo studio. Yous should take nigh of these things to hand, but if not, they are like shooting fish in a barrel to borrow. Too annotation that there is enough of photo-editing software available to download for gratis.
- Artist'due south easel
- 3mm sheet of MDF lath
- Thin pane of glass
- Digital SLR photographic camera
- Tripod
- 2 soft box lights (or floor or desk lamps)
- Some black cloth or felt
- Some black paper or black sugar paper
- A reckoner and photo-editing software
01. Controlling the light
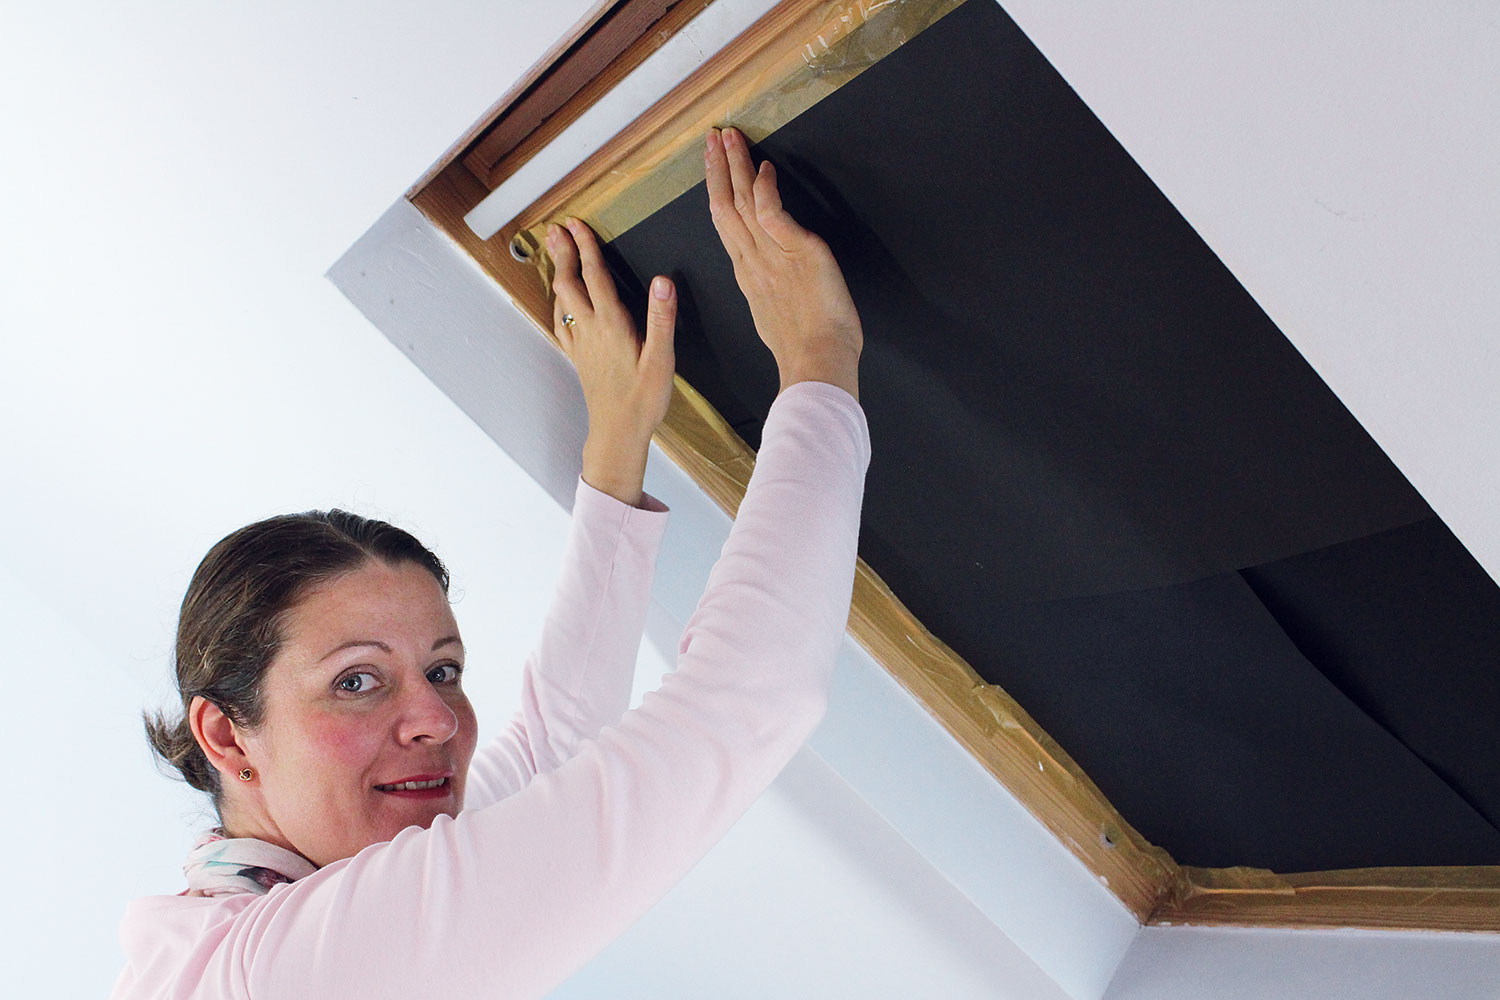
Don't worry, y'all won't need to create darkroom conditions for this, but it is a good thought to cake out whatsoever lite from any windows and shut any doors if they are too letting in lite.
Hither nosotros've used a piece of blackness paper and package tape to cover a Velux window in the loft room that we're using every bit our digitisation studio.
If you lot prefer, you could use blackout cloth instead – this is easily bachelor online. But cutting information technology to fit the window's shape, and gear up information technology in place with masking tape (especially if you're concerned almost the paintwork). Don't forget to plow off the room'south main low-cal when you're ready to starting time shooting.
02. Organise the artwork
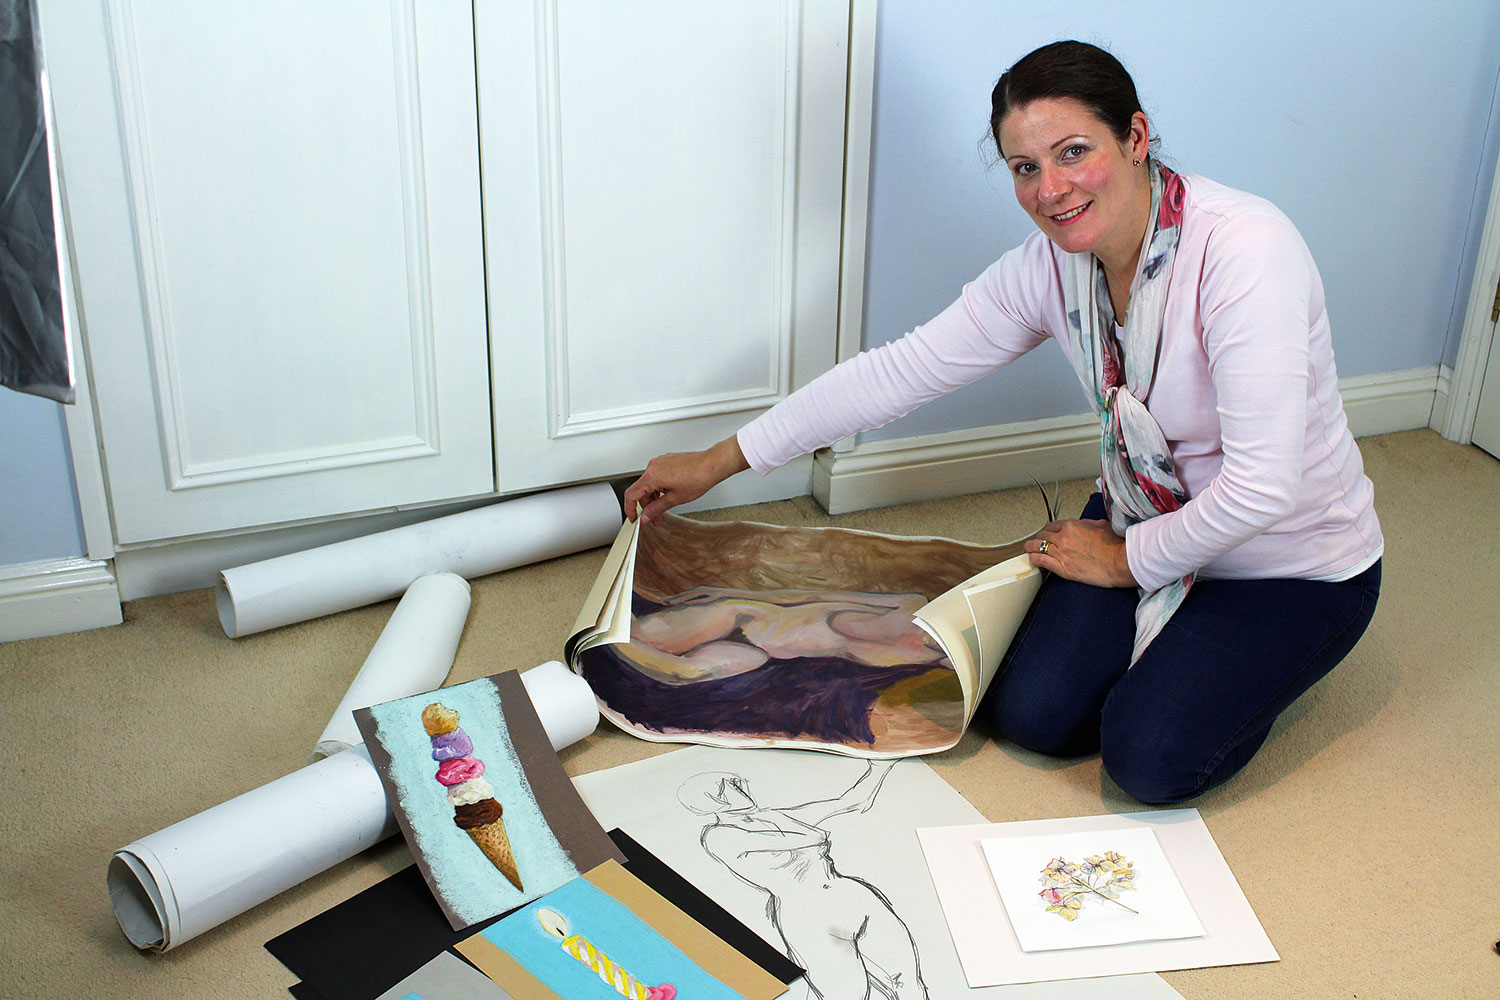
Choose the pieces of art you desire to digitise and then organise them into groups according to size. This volition make things much easier once you get-go photographing the work, equally you won't need to keep adjusting the easel, lighting and photographic camera set-upwardly for each painting. Instead, you volition photo all the smaller works together, all the medium-sized ones, and finally all the big ones, having to make only pocket-size adjustments.
03. Setting upwards the easel
An ordinary artist'south easel is perfect – if y'all don't already have 1, see if yous tin borrow one. The back of the easel needs to be as close to vertical as possible. You lot could use a spirit level for this but we're doing information technology by eye. Adjacent place a sheet of MDF onto the easel, followed by your sheet of glass, in portrait attribute. Gear up them in place using the easel's clamps.
04. Bring in the lights
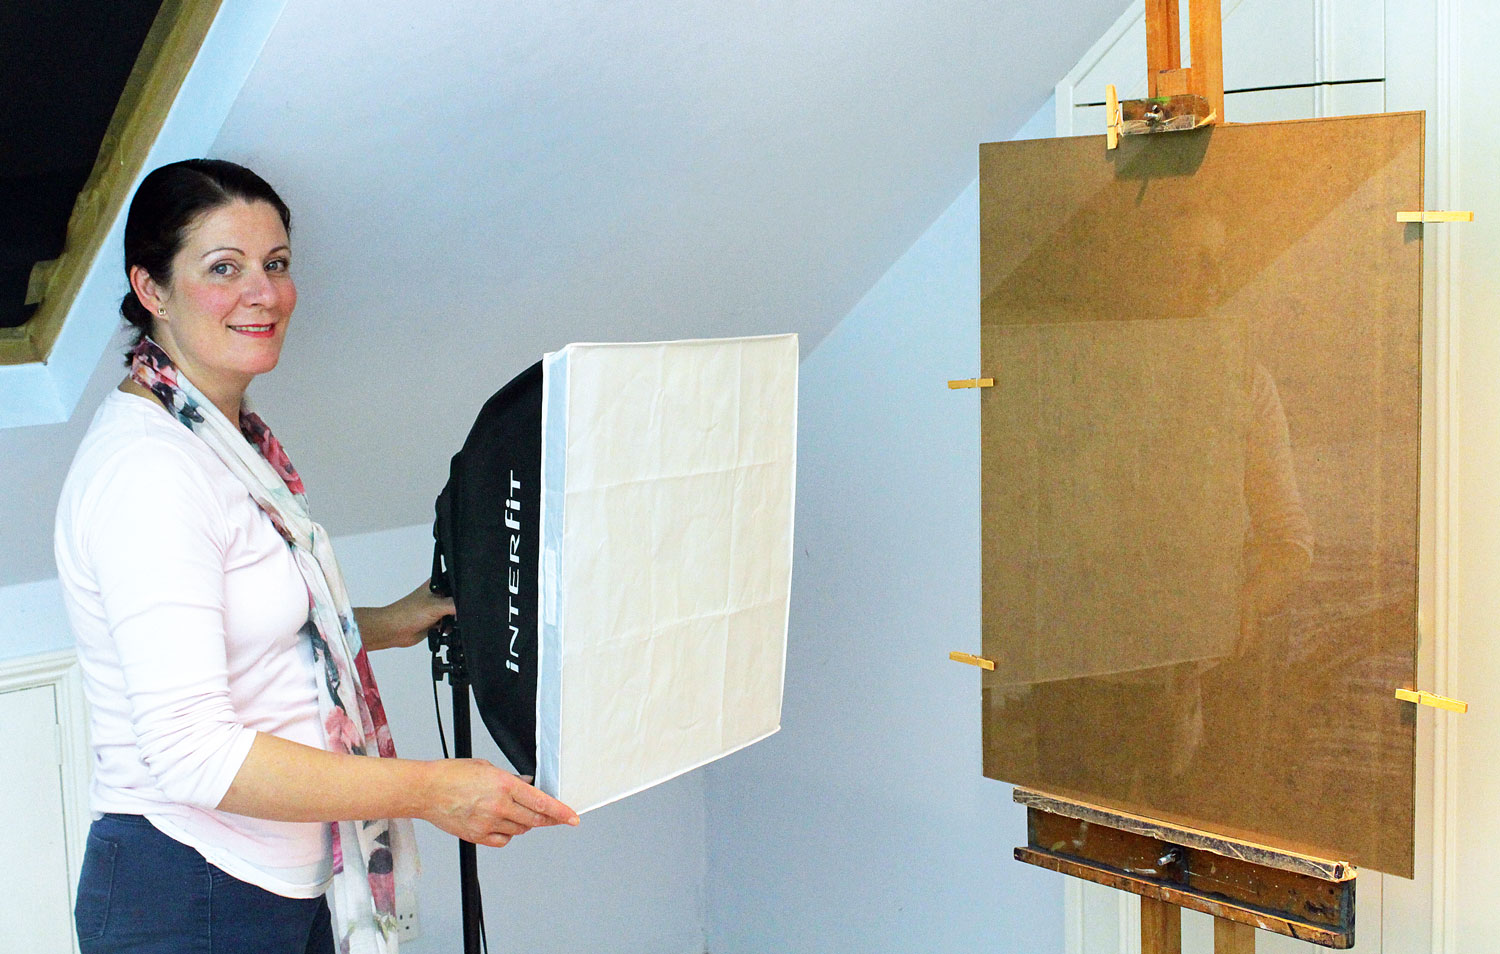
Place the soft box lights well-nigh six anxiety apart, facing one another, on each side of the easel. If y'all oasis't got soft box lights like the ones we're using, flooring or desk lamps volition practise the job. Just make sure they're at the same height and tin provide fairly fifty-fifty lighting across the front end of the easel. Don't worry too much about reflections – we'll show you how to command them.
05. Position the camera
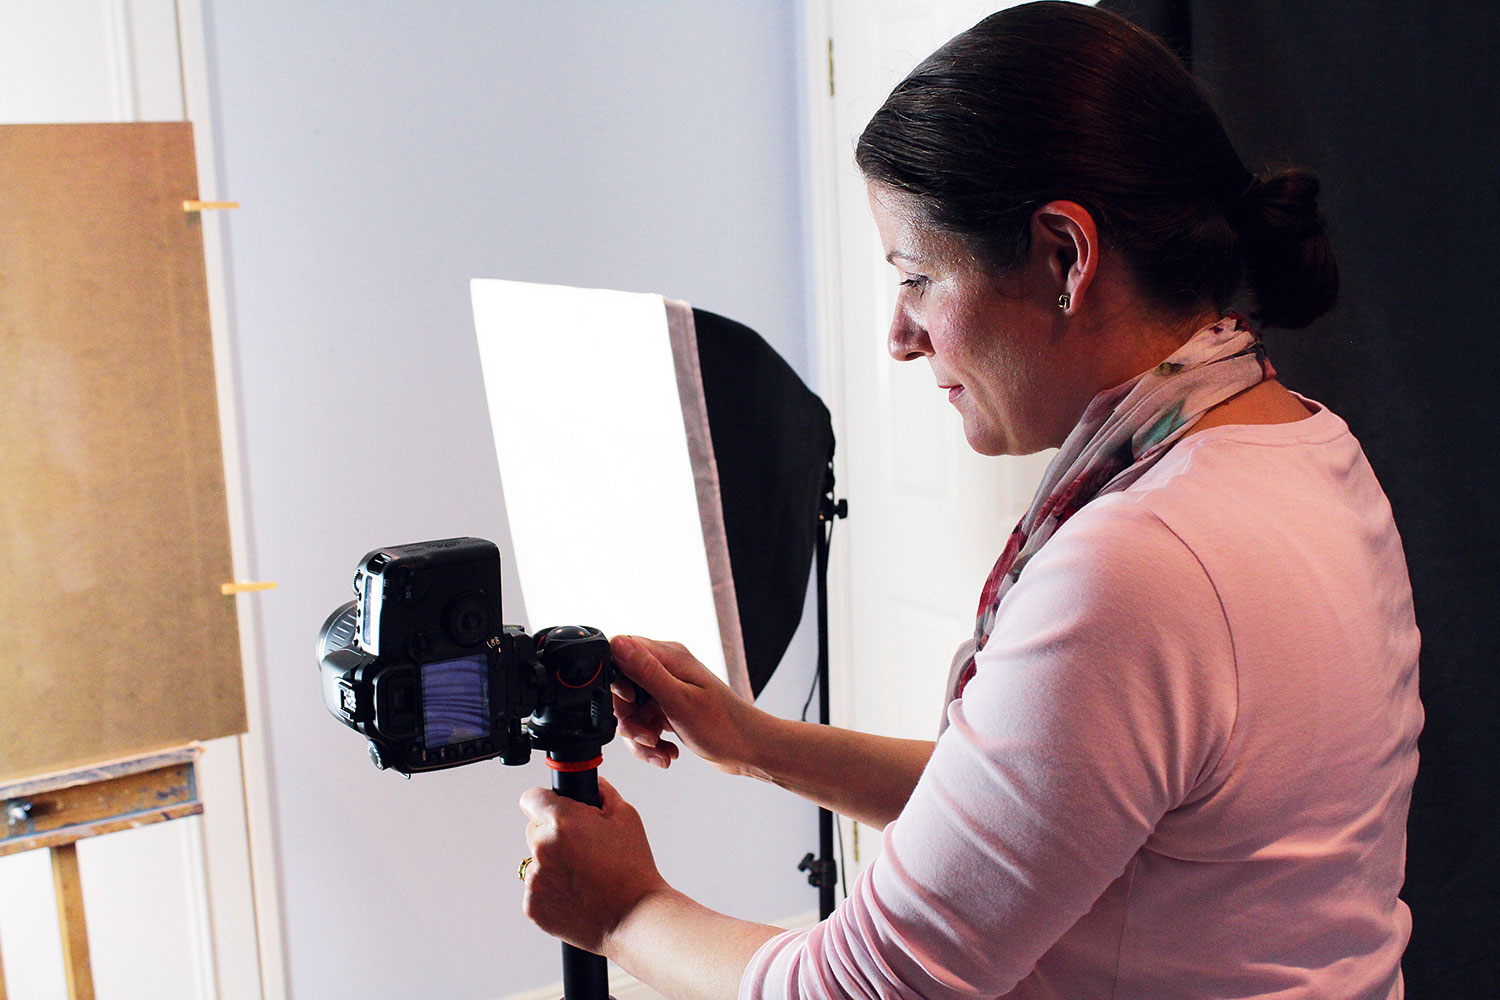
Adhere the digital SLR camera to the tripod and adjust its pinnacle and then it's roughly level with the lighting and the easel. You can move information technology up and downwardly to get it perfect once the artwork is in identify. We'll shoot in portrait orientation because the wider your set-upwardly is, the more than hazard of reflections. Even if your artwork is landscape format, identify it in portrait orientation and simply rotate the paradigm in your computer software.
06. Get the artwork ready
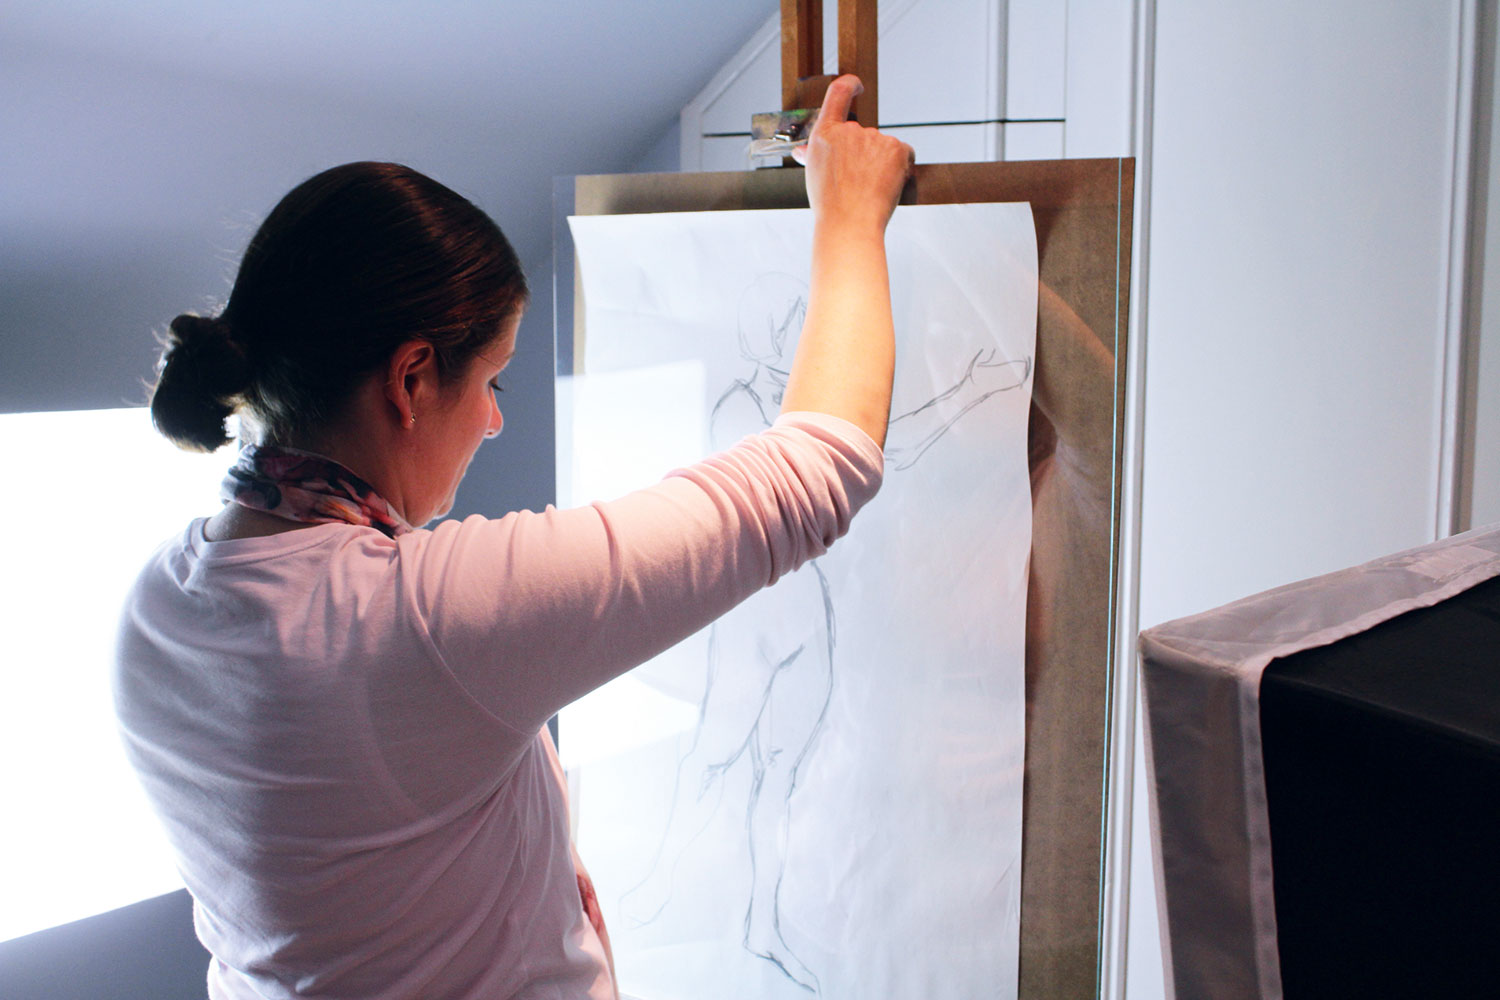
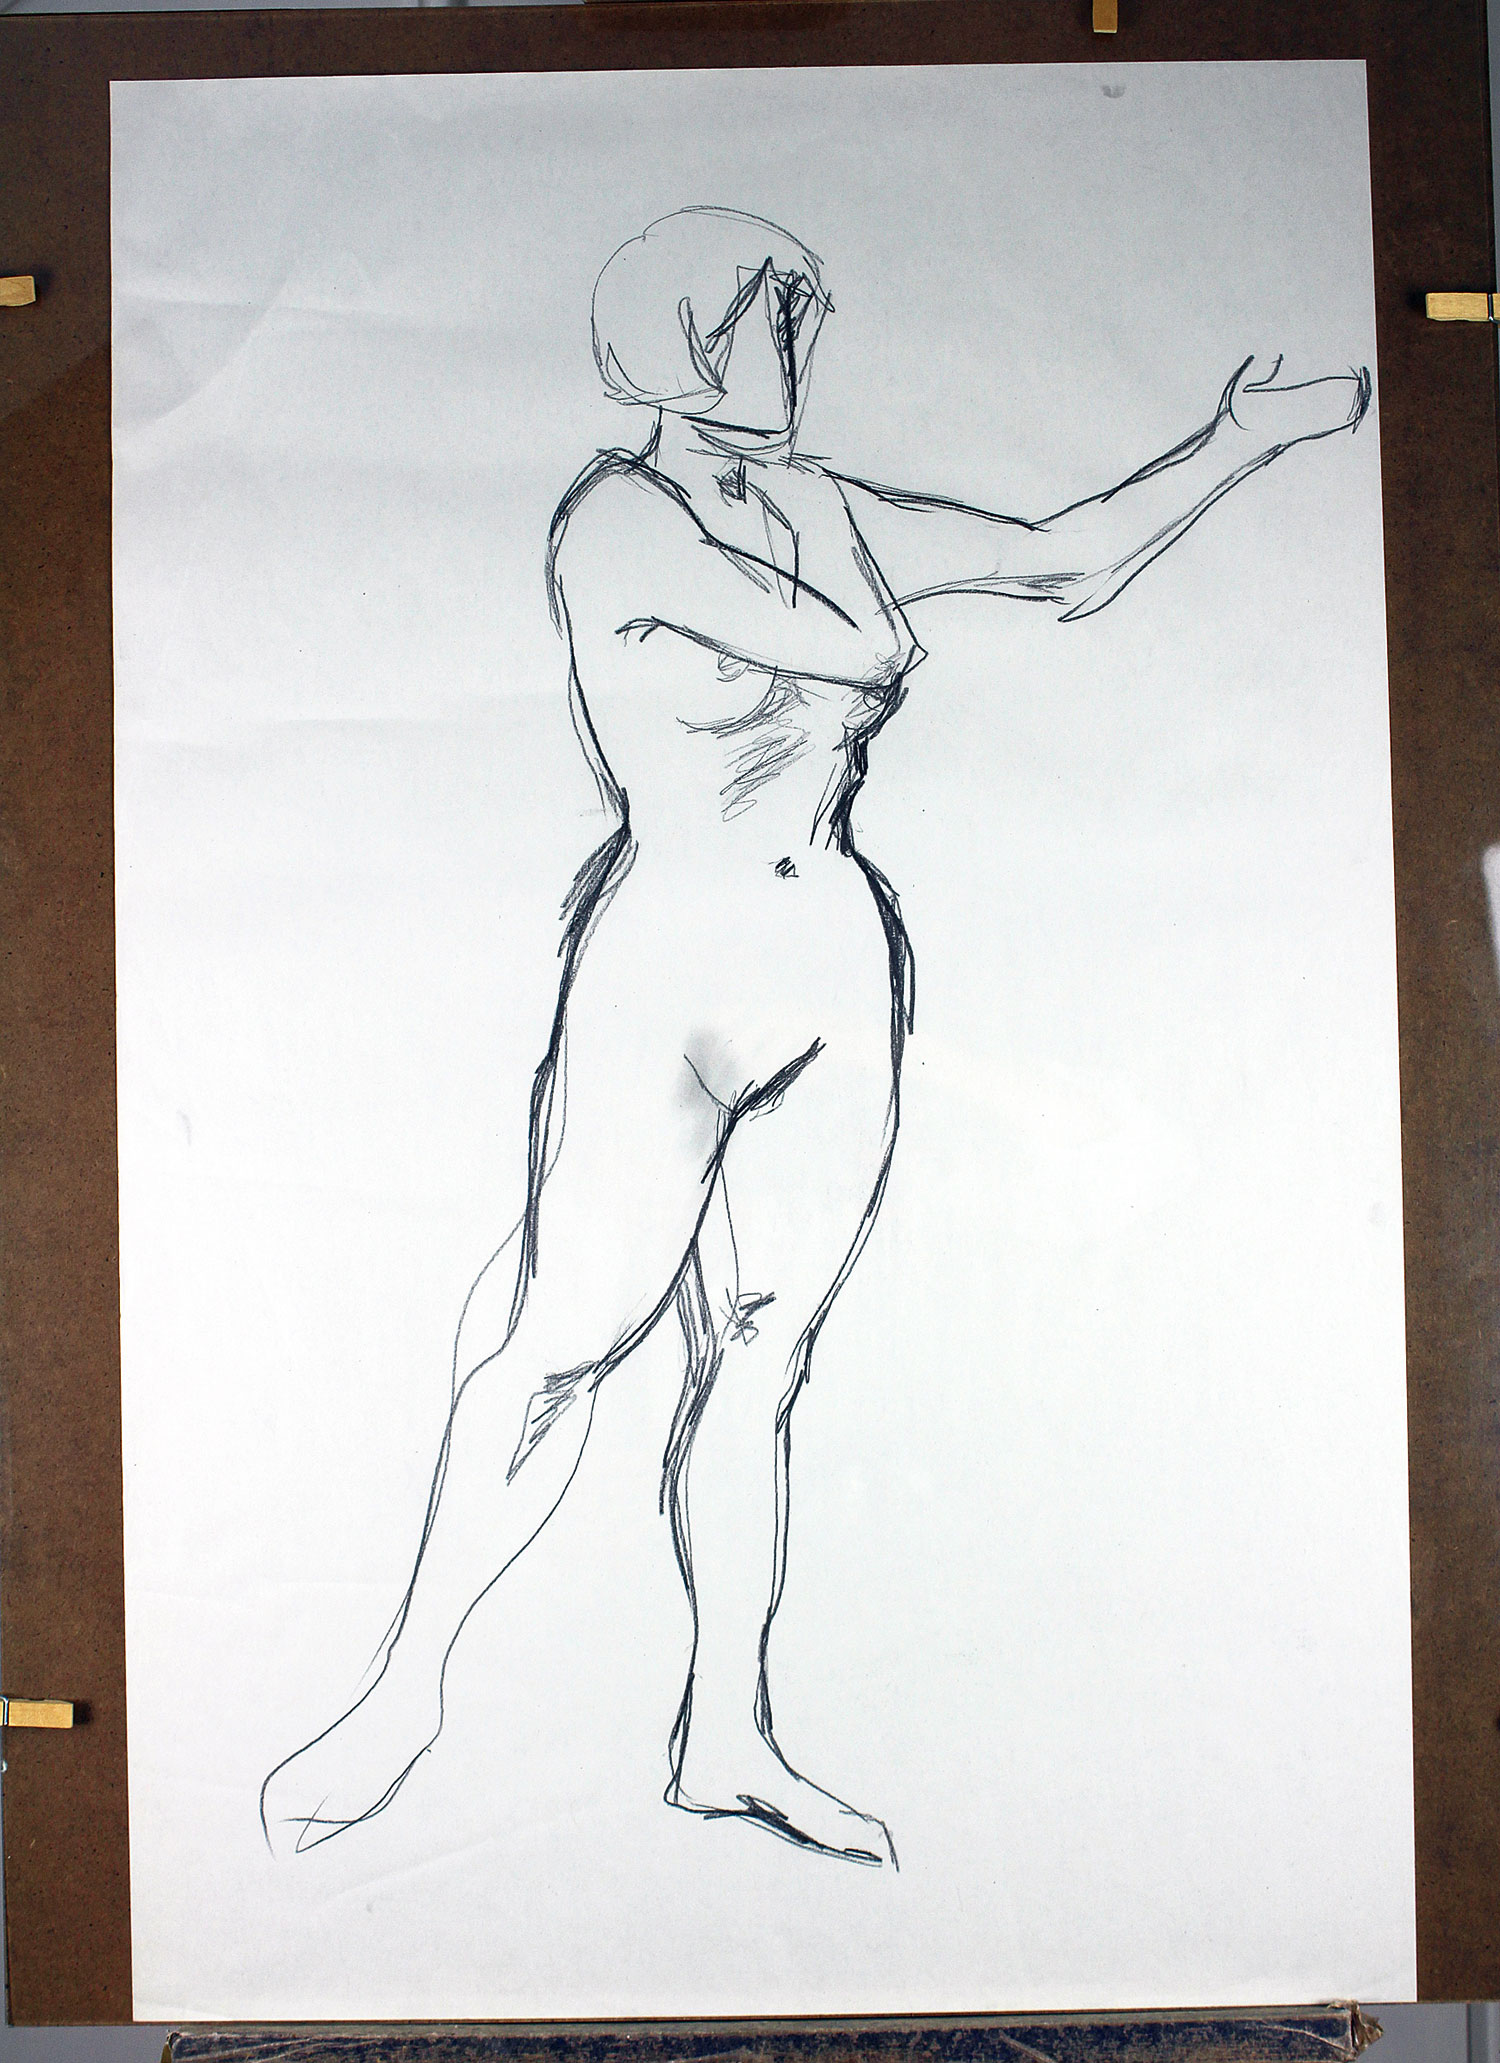
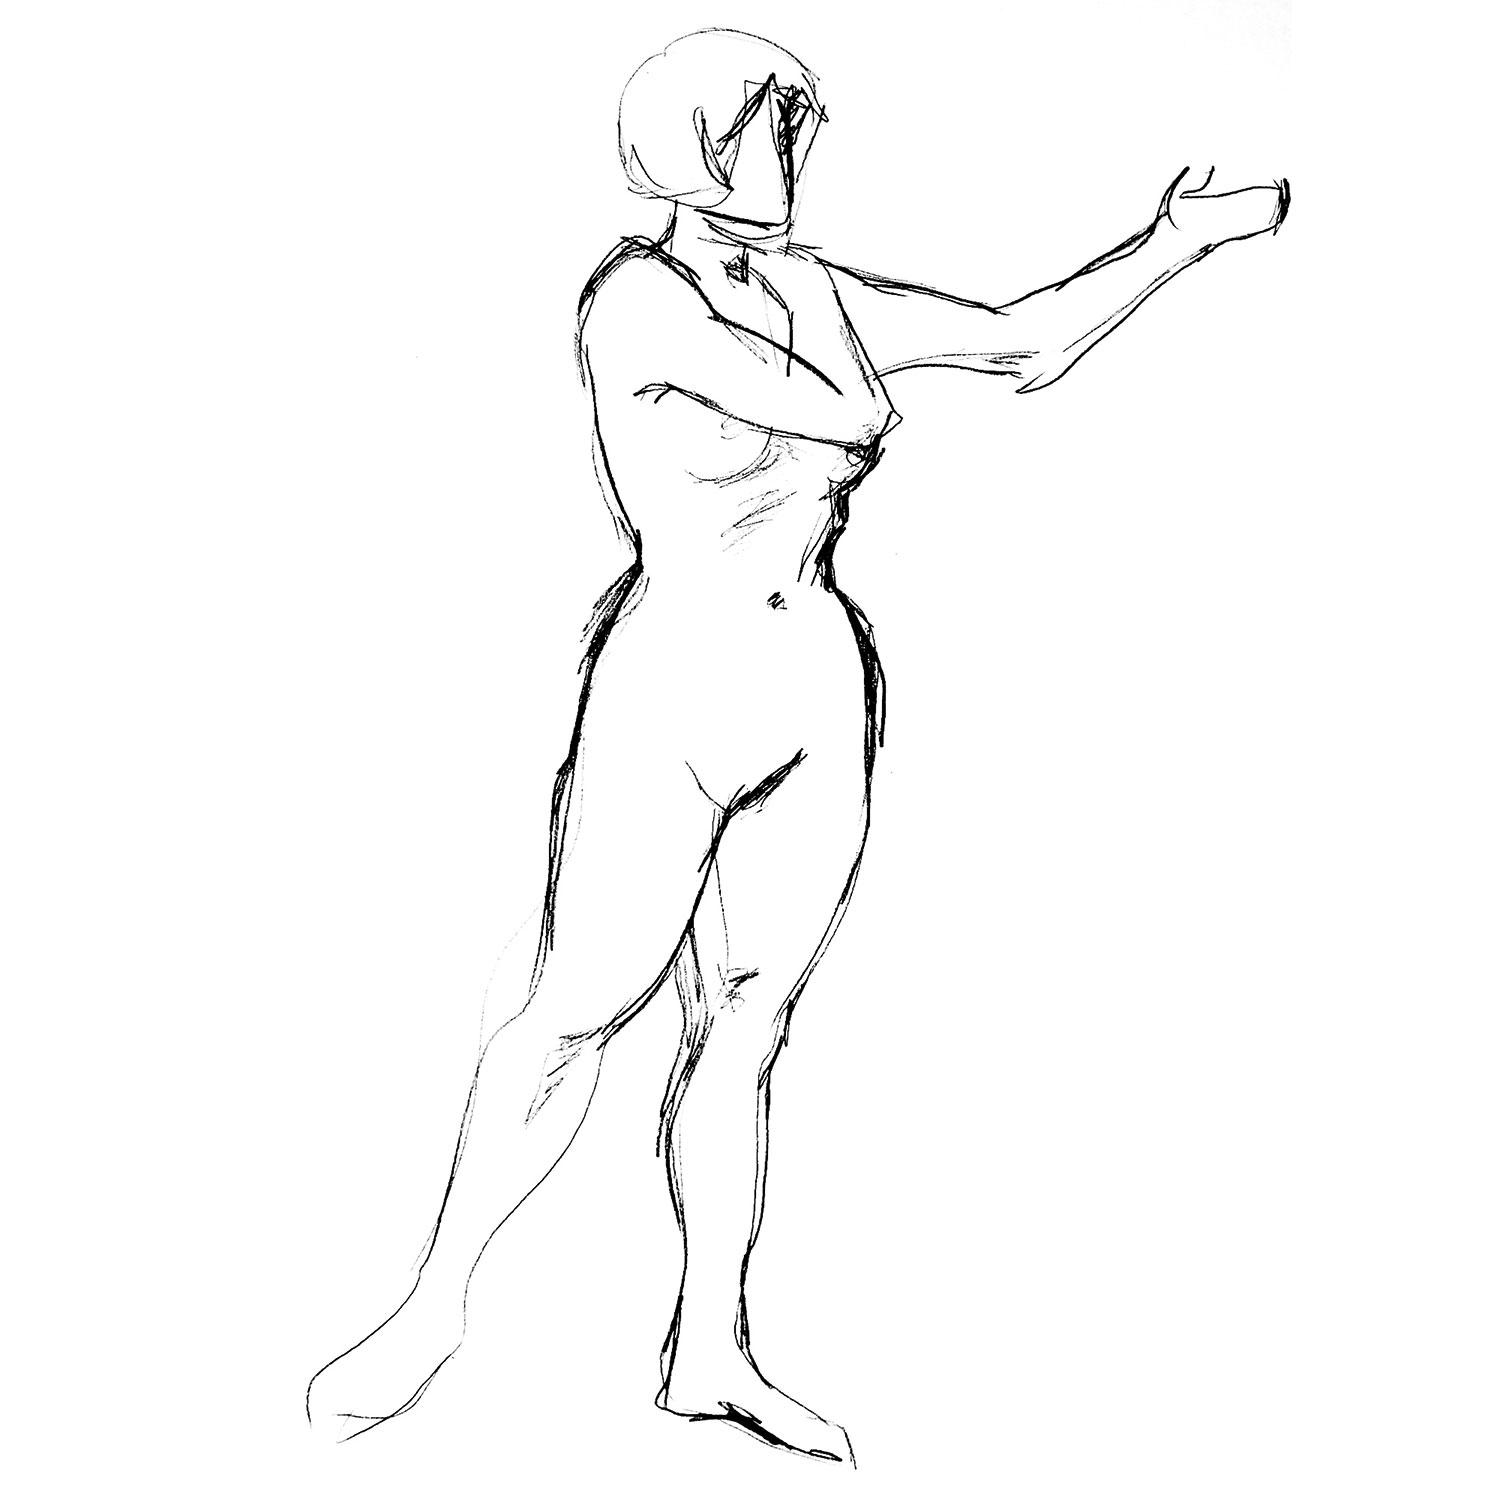
Brand sure your pane of glass is clean. If your artwork was fabricated using a medium that requires fixing (such equally charcoal or pastel), brand sure this has been done and the logroller is dry out before placing the fine art behind the glass and in position for you lot to photograph information technology. Nosotros're photographing a life-cartoon on some flimsy newsprint that's been rolled up, so the drinking glass really helps. Pegs can be used to secure the glass to the backing board, flattening the artwork.
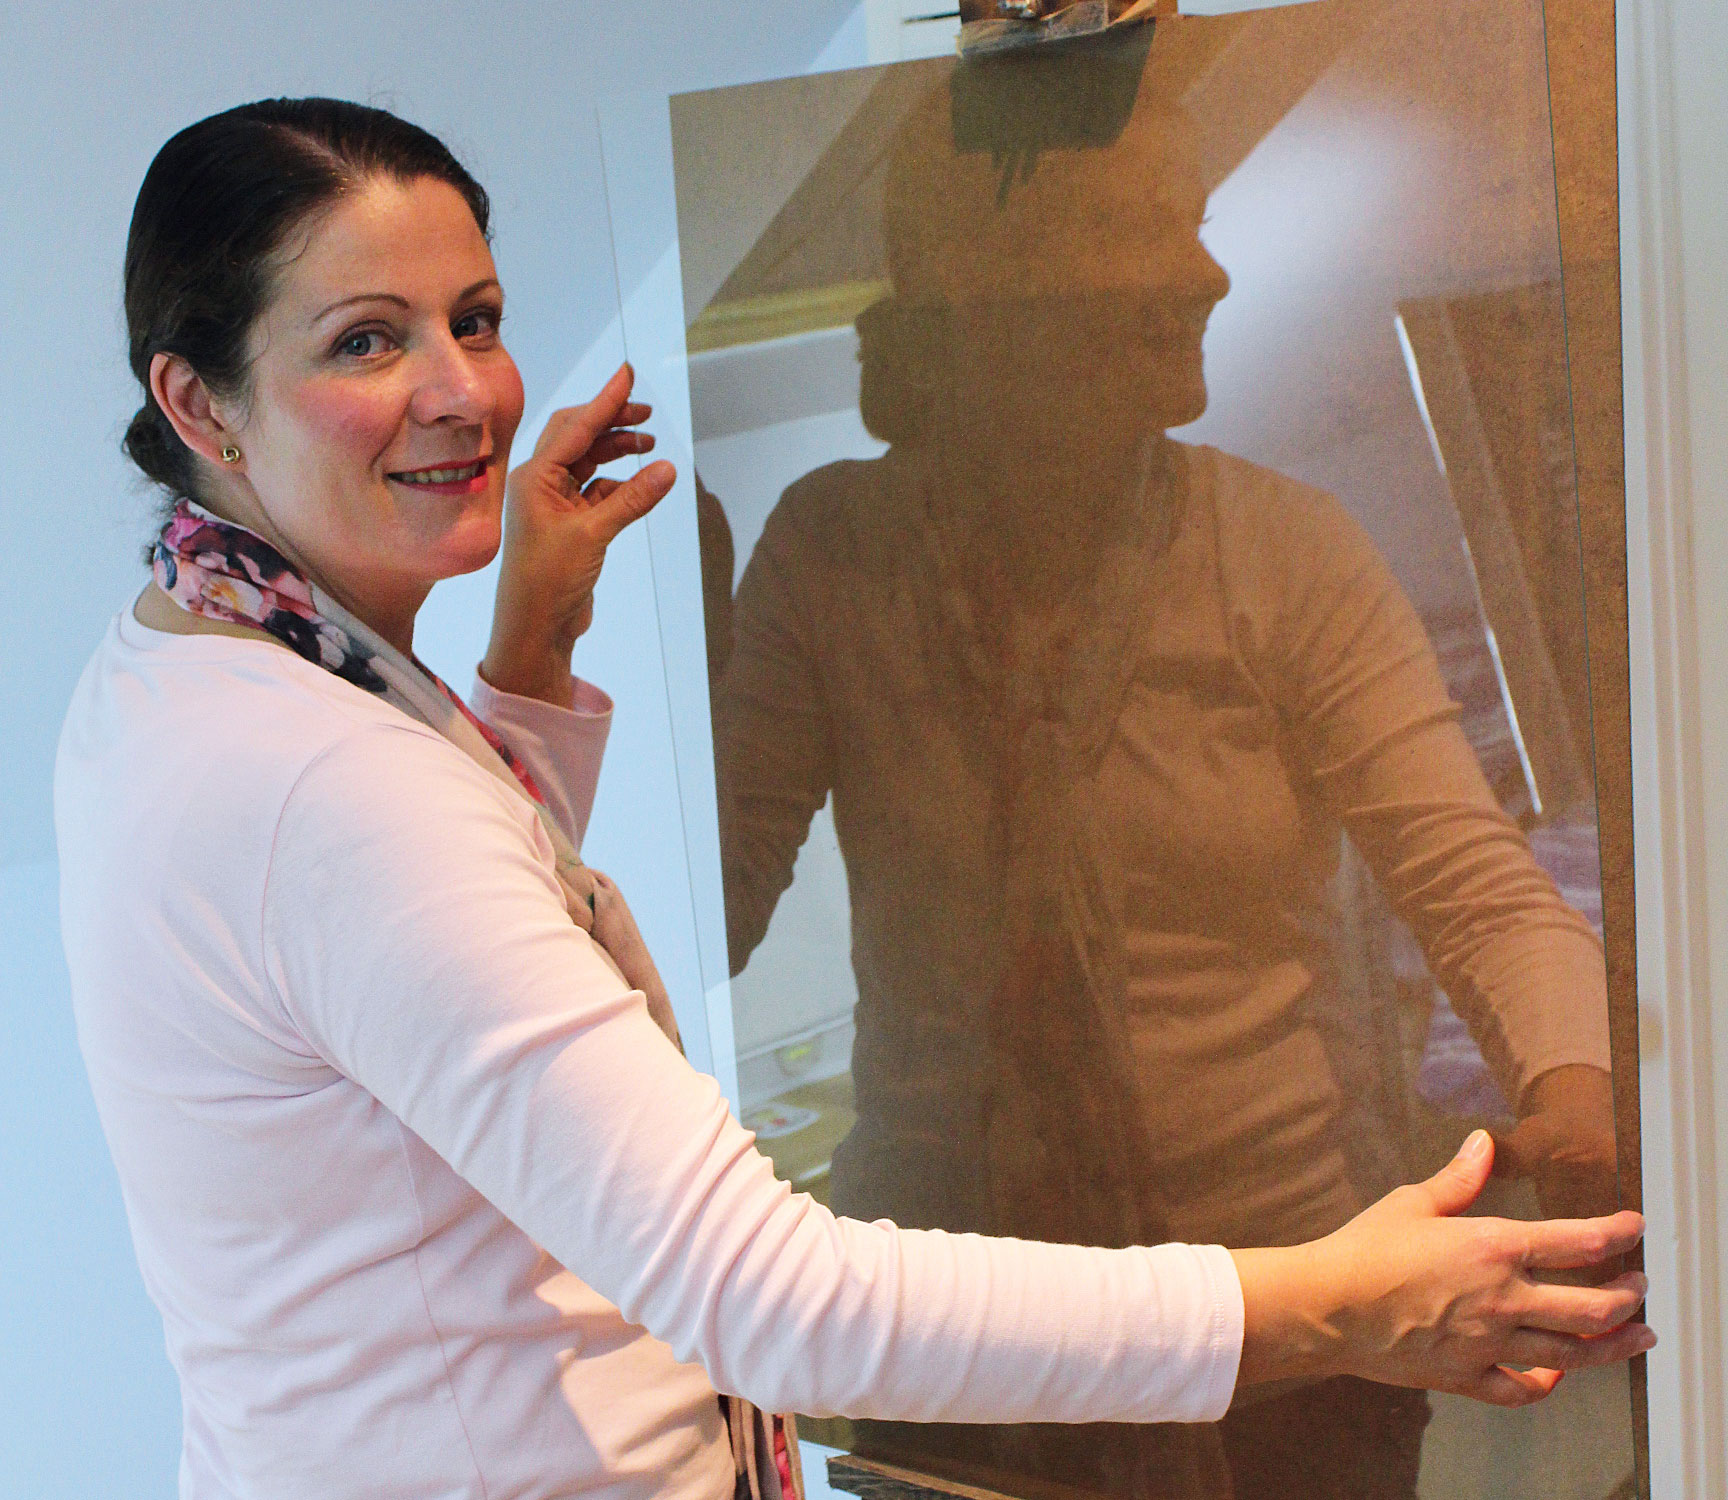
07. Line it upward
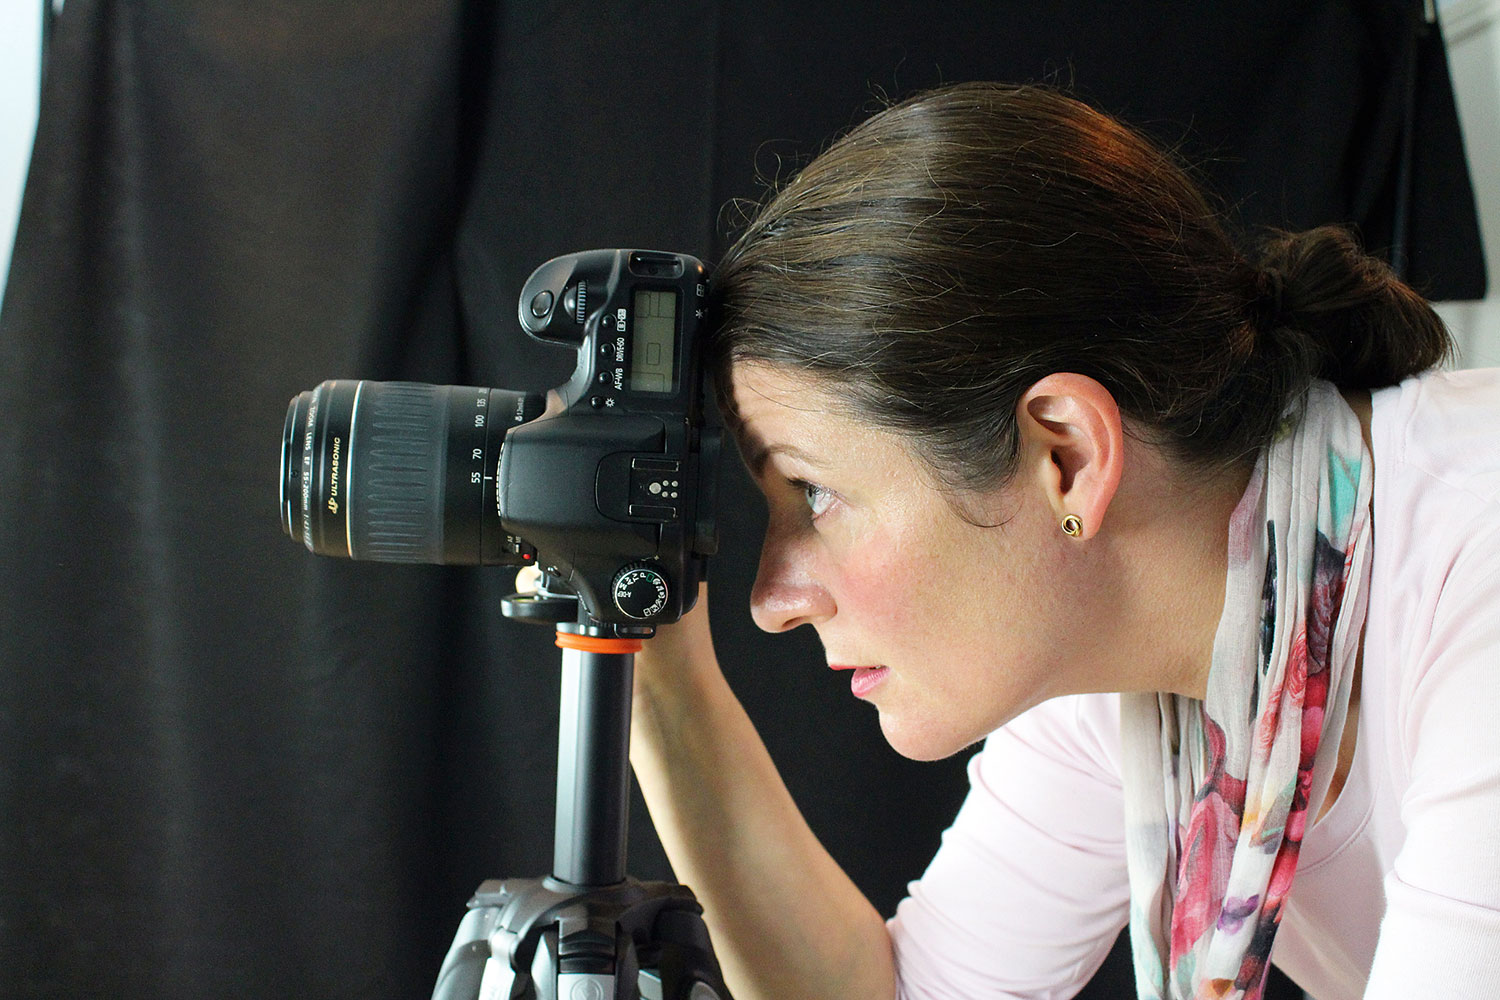
Raise or lower your camera so that the centre of your shot is as close to the centre of the artwork as possible. Then move the lights to try to make sure they are not beingness reflected in the drinking glass. Look through your camera's viewfinder and continue making adjustments until information technology'due south right. You might find yous demand to become someone to hold a piece of blackout textile in a sure position to help dim away unwanted reflections.
08. Camera action
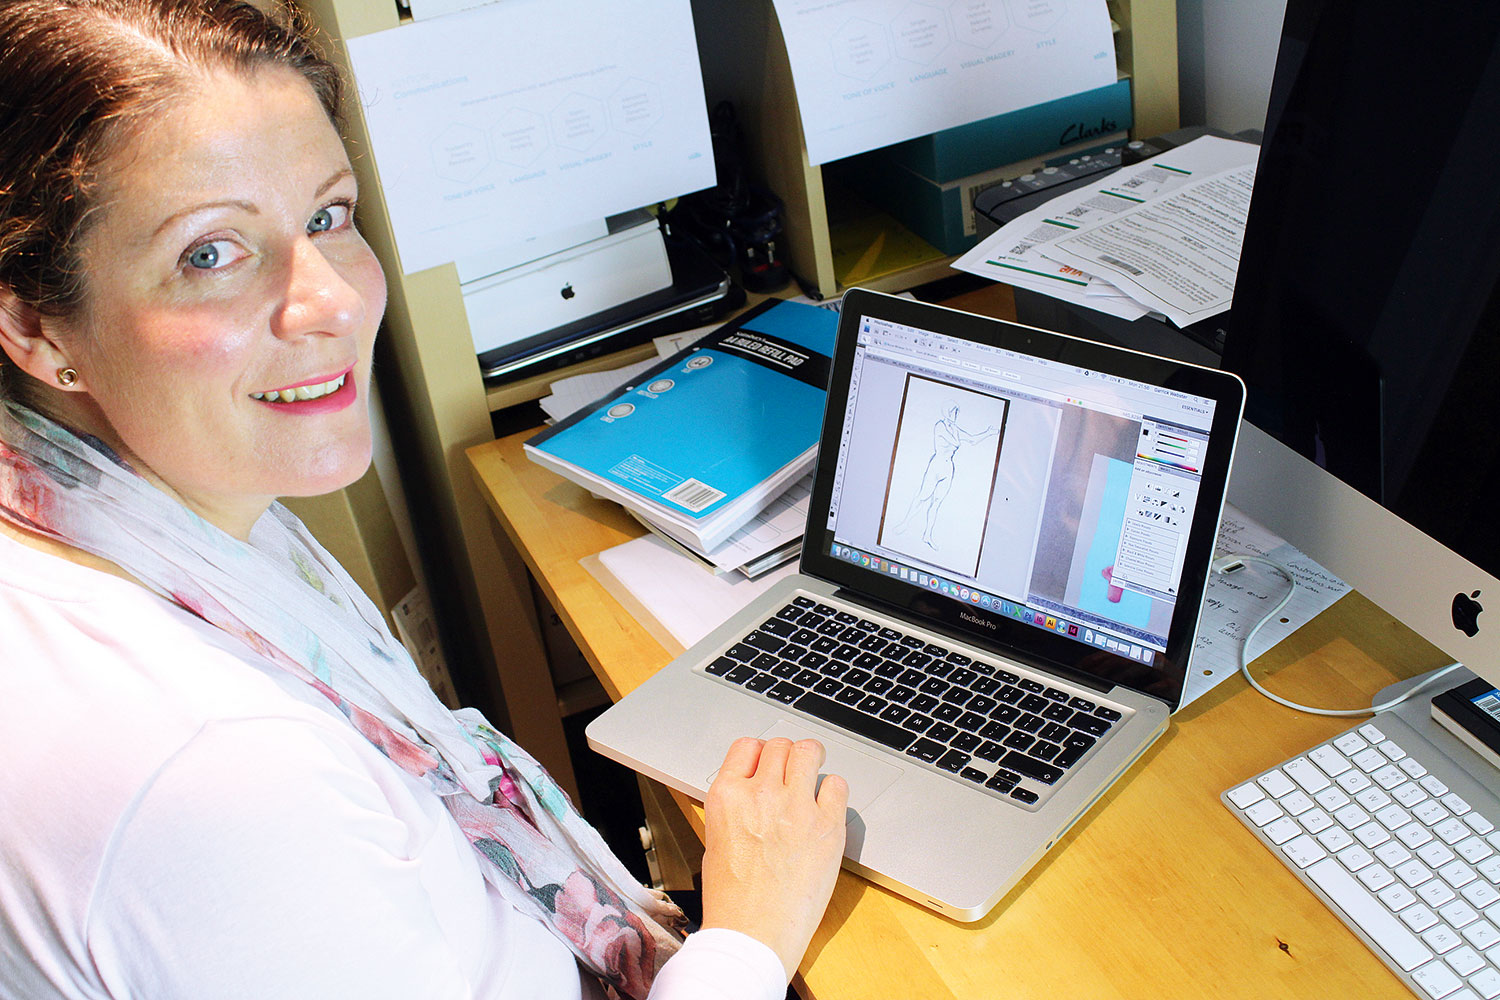
Set your camera to take photos at the highest resolution possible, so start shooting. We'd advise three shots per artwork, each at a dissimilar shutter speed. One time y'all've taken a few shots, have the memory card out, pop it into your computer and bank check the quality of the photos on your calculator. Information technology'll exist easier to spot whatsoever flaws on the computer screen than on your camera'southward smaller brandish. If you can see whatsoever small reflections or things yous want to change, make the required aligning to the set-upwardly and accept some new shots.
09. Photographic camera to computer
When you lot're done, transfer the images to your computer. If you've used your camera's RAW prototype format, which captures the best item and colour depth, then you'll need to convert the files to a format your software can handle. We recommend saving in TIF format to begin with. JPEG will discard most of the detail.
x. Digital editing
Y'all can use a gratis application such as GIMP or Paint.NET. Choose the photograph with the about accurate colour representation from each set of 3. Crop the epitome to the area containing your artwork, and save this as a new file. Employ the edges of the crop box to decide whether or non your artwork is beingness seen flat-on. Yous might need to make tiny adjustments or rotate it ever and then slightly. When you're happy with information technology, salvage information technology as a TIF for press, and as a JPEG for websites or sharing on social media.
At present that your file is digital, there are many things you tin practise with it. You tin can upload information technology to an online portfolio, or to your Facebook folio. Y'all tin have giclée prints made and give them to your friends or sell them. Or, why not use your artwork to create your own gear up of greeting cards? The possibilities are simply about endless, but the important thing is that other people can at present enjoy looking at your art as much every bit yous enjoyed creating it.
This article originally appeared in Paint & Draw event 01; purchase information technology here !
Related articles:
- Artists redesign their peak 10 albums of 2016
- 21 imaginative web comics to inspire you lot
- Photoshop now supports MacBook Pro Affect Bar
Related articles
nicholsonnuse1938.blogspot.com
Source: https://www.creativebloq.com/how-to/create-quality-digital-copies-of-your-art
0 Response to "Upload Your Own Art Prints Quality Digital Art Prints"
Post a Comment